
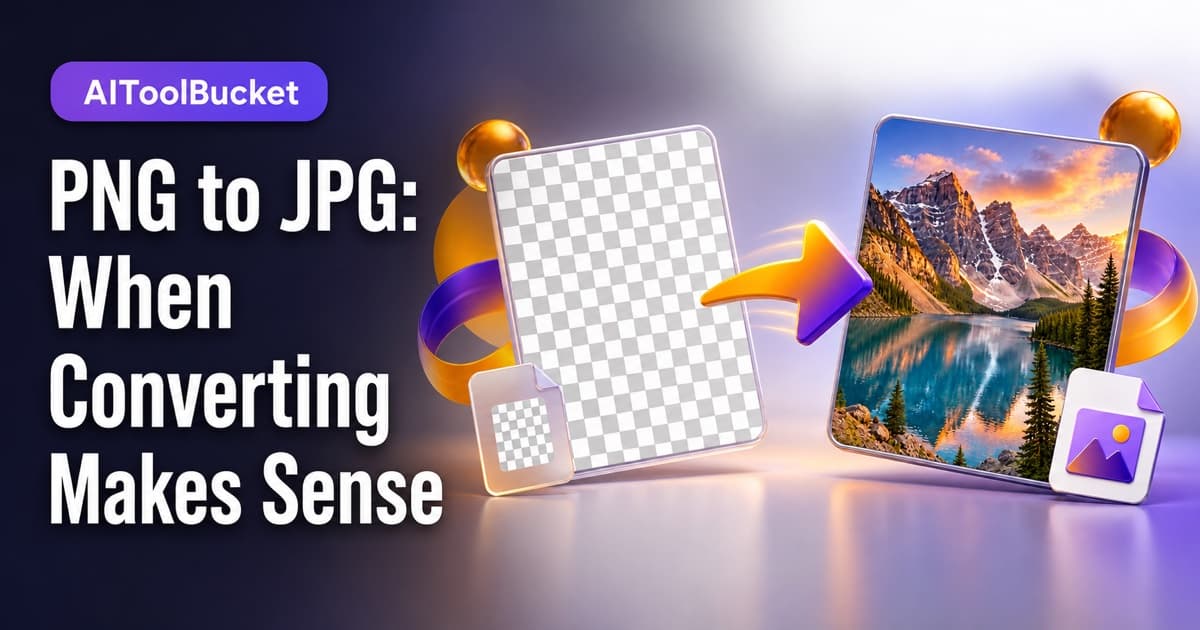
PNG and JPG solve different problems. Converting is useful when a photographic PNG is far larger than necessary, but harmful when the image depends on transparency, crisp text, or flat-color edges.
What to know before you start
JPG uses lossy compression designed for photographs and continuous tones. PNG preserves exact pixels and an alpha channel, making it better for logos, screenshots, diagrams, and transparent cutouts.
A transparent PNG needs a background when saved as JPG. Choose white or another intentional color rather than accepting an unexpected black background.
A reliable workflow
- Check whether the PNG contains transparent pixels. Do this deliberately rather than rushing to the next control. A quick check at this stage is easier than discovering a preventable problem after the file has been downloaded, shared, or added to another workflow.
- Choose a background color if transparency must be flattened. Do this deliberately rather than rushing to the next control. A quick check at this stage is easier than discovering a preventable problem after the file has been downloaded, shared, or added to another workflow.
- Convert at a high quality setting first. Do this deliberately rather than rushing to the next control. A quick check at this stage is easier than discovering a preventable problem after the file has been downloaded, shared, or added to another workflow.
- Inspect text, edges, gradients, and skin tones at 100%. Do this deliberately rather than rushing to the next control. A quick check at this stage is easier than discovering a preventable problem after the file has been downloaded, shared, or added to another workflow.
- Keep the PNG master and use JPG as the delivery copy. Do this deliberately rather than rushing to the next control. A quick check at this stage is easier than discovering a preventable problem after the file has been downloaded, shared, or added to another workflow.
Try it with your own file
Use the focused tool, review the result, and download only when it looks right.
Open PNG to JPGBrowse all toolsDetails that improve the result
- Photographs usually shrink dramatically as JPG.
- Screenshots with small text often remain cleaner as PNG or WebP.
- Avoid repeated JPG saves because each pass adds loss.
These details are small enough to miss when the task feels routine, yet they usually separate a merely completed job from a dependable result. Apply them in context rather than treating them as rigid rules. The right choice depends on the source material, the destination, and what the next person needs to do with the output.
Common mistakes to avoid
- Converting a logo and losing transparency.
- Using maximum quality and gaining almost no size benefit.
- Upscaling during format conversion without a real need.
If something looks wrong, return to the earliest stage where it appears. Repeating the final action with the same inputs rarely fixes a source-quality, ordering, formatting, or privacy problem. Change one variable at a time, create a fresh output, and compare it with both the original and the previous attempt.
How to judge the finished result
Review the output at the size and in the environment where it will actually be used. A file that looks acceptable as a small browser preview can reveal soft text, clipped edges, missing content, or awkward spacing when opened full size. Conversely, a tiny imperfection visible only at extreme zoom may not matter for a normal screen-reading workflow. The destination—not the editor preview—sets the practical quality standard.
Check meaning as well as appearance. Names, dates, totals, page order, links, headings, and important labels deserve a deliberate comparison with the source. For png to jpg, visual polish cannot compensate for a changed value or omitted piece of information. If the result will be submitted to an employer, customer, school, government portal, or public website, reopen the downloaded file in a second application before sending it.
Finally, consider the recipient. Use a descriptive filename, avoid unexplained abbreviations, and keep the output reasonably sized. If the file is one part of a larger process, note what was changed and retain the untouched source. That simple record makes later corrections faster and prevents a derivative copy from becoming the only surviving version.
Privacy and file-handling checklist
- Use the minimum necessary data. Remove unrelated pages, records, metadata, or personal details before uploading or sharing anything.
- Keep an original. Save the source separately and give the processed copy a new, descriptive filename instead of overwriting it.
- Understand the destination. Check file-size, format, dimension, and accessibility requirements before optimizing for the wrong target.
- Inspect the download. Open the actual exported file; do not assume the on-page preview and downloaded result are identical.
- Share deliberately. Confirm the intended recipient and avoid public links for documents or images containing private information.
- Clean up working copies. Remove unnecessary local downloads from shared or public devices after the task is complete.
A practical example
Imagine that the output is due in ten minutes. The fastest safe approach is not to click through every option. First define the required result in one sentence, choose the smallest suitable source, and complete the workflow above once. Then compare the downloaded file against that sentence. If it satisfies the destination requirements and preserves the important information, stop. Extra processing can introduce new loss, formatting drift, or confusion without adding useful value.
For recurring work, save a short checklist based on the steps and mistakes in this guide. Consistency matters more than remembering every setting. A repeatable process also makes it easier to explain what happened when a colleague asks how the final file was produced.
Continue the workflow
Resize images for social media · Compress images without visible loss
Frequently asked questions
Will JPG always be smaller?
Usually for photos, but not always for tiny graphics or limited-color images.
Can JPG preserve transparency?
No. Transparency must be replaced with a solid background.